How to do a Diff in VS Code (Compare Files)
VS Code has a very powerful diff tool. This quick post is going to teach you how to perform diffs (compare files) in VS Code.
There's two primary types of diffs you can do with VS Code.
- Compare two files in your project
- Compare git file versions
Diff from Explorer Panel
This is the quickest, easiest way to bring up the diff panels.
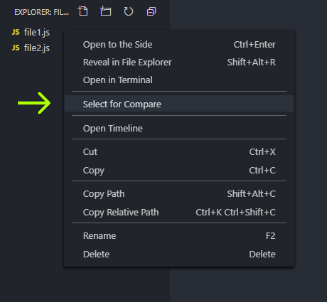
1. Right click the first file and "Select for Compare"

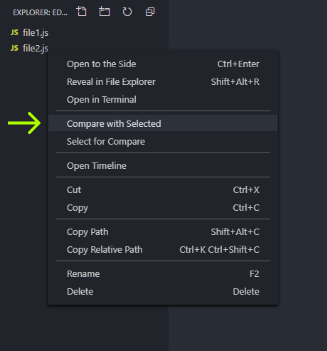
2. Right click on the second file and "Compare with Selected"

3. You should see the diff panel appear once you've completed these steps:

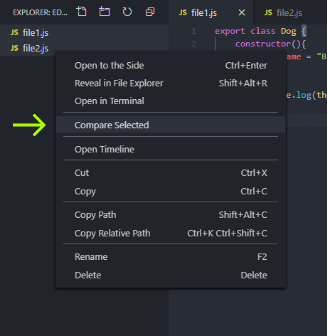
Note: you can also CTRL-select both files, right click on one, and select "Compare Selected" to achieve the same thing:

Diff from command line
This is convenient if you want to build up muscle memory of typing out the commands into the terminal. Here's how to do it.
code --diff file1.js file2.jsPaste this command into the command line with your file names.
Executing this command should bring up the diff panel, just like it did from the explorer window.
Git diff in from the Activity Bar
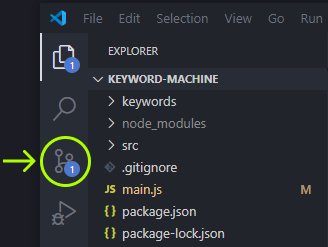
If you would like to compare your local file changes with the latest git version of a file, click the git icon in the activity bar, then select the file that you would like to compare.

Note: you can also edit files from within the diff panels! VS Code is awesome.
I hope this helped you! Diffing in VS Code is very useful for quickly seeing changes between two files. It also helps to remind yourself of the changes you've made from the master version of a file on git once in a while. VSCode diffs are a great thing to add to your developer toolbox.